
Study Abroad
Each year, hundreds of students study abroad through a portfolio of study abroad options around the world. Let us help find the best program for you.
Welcome: Study Abroad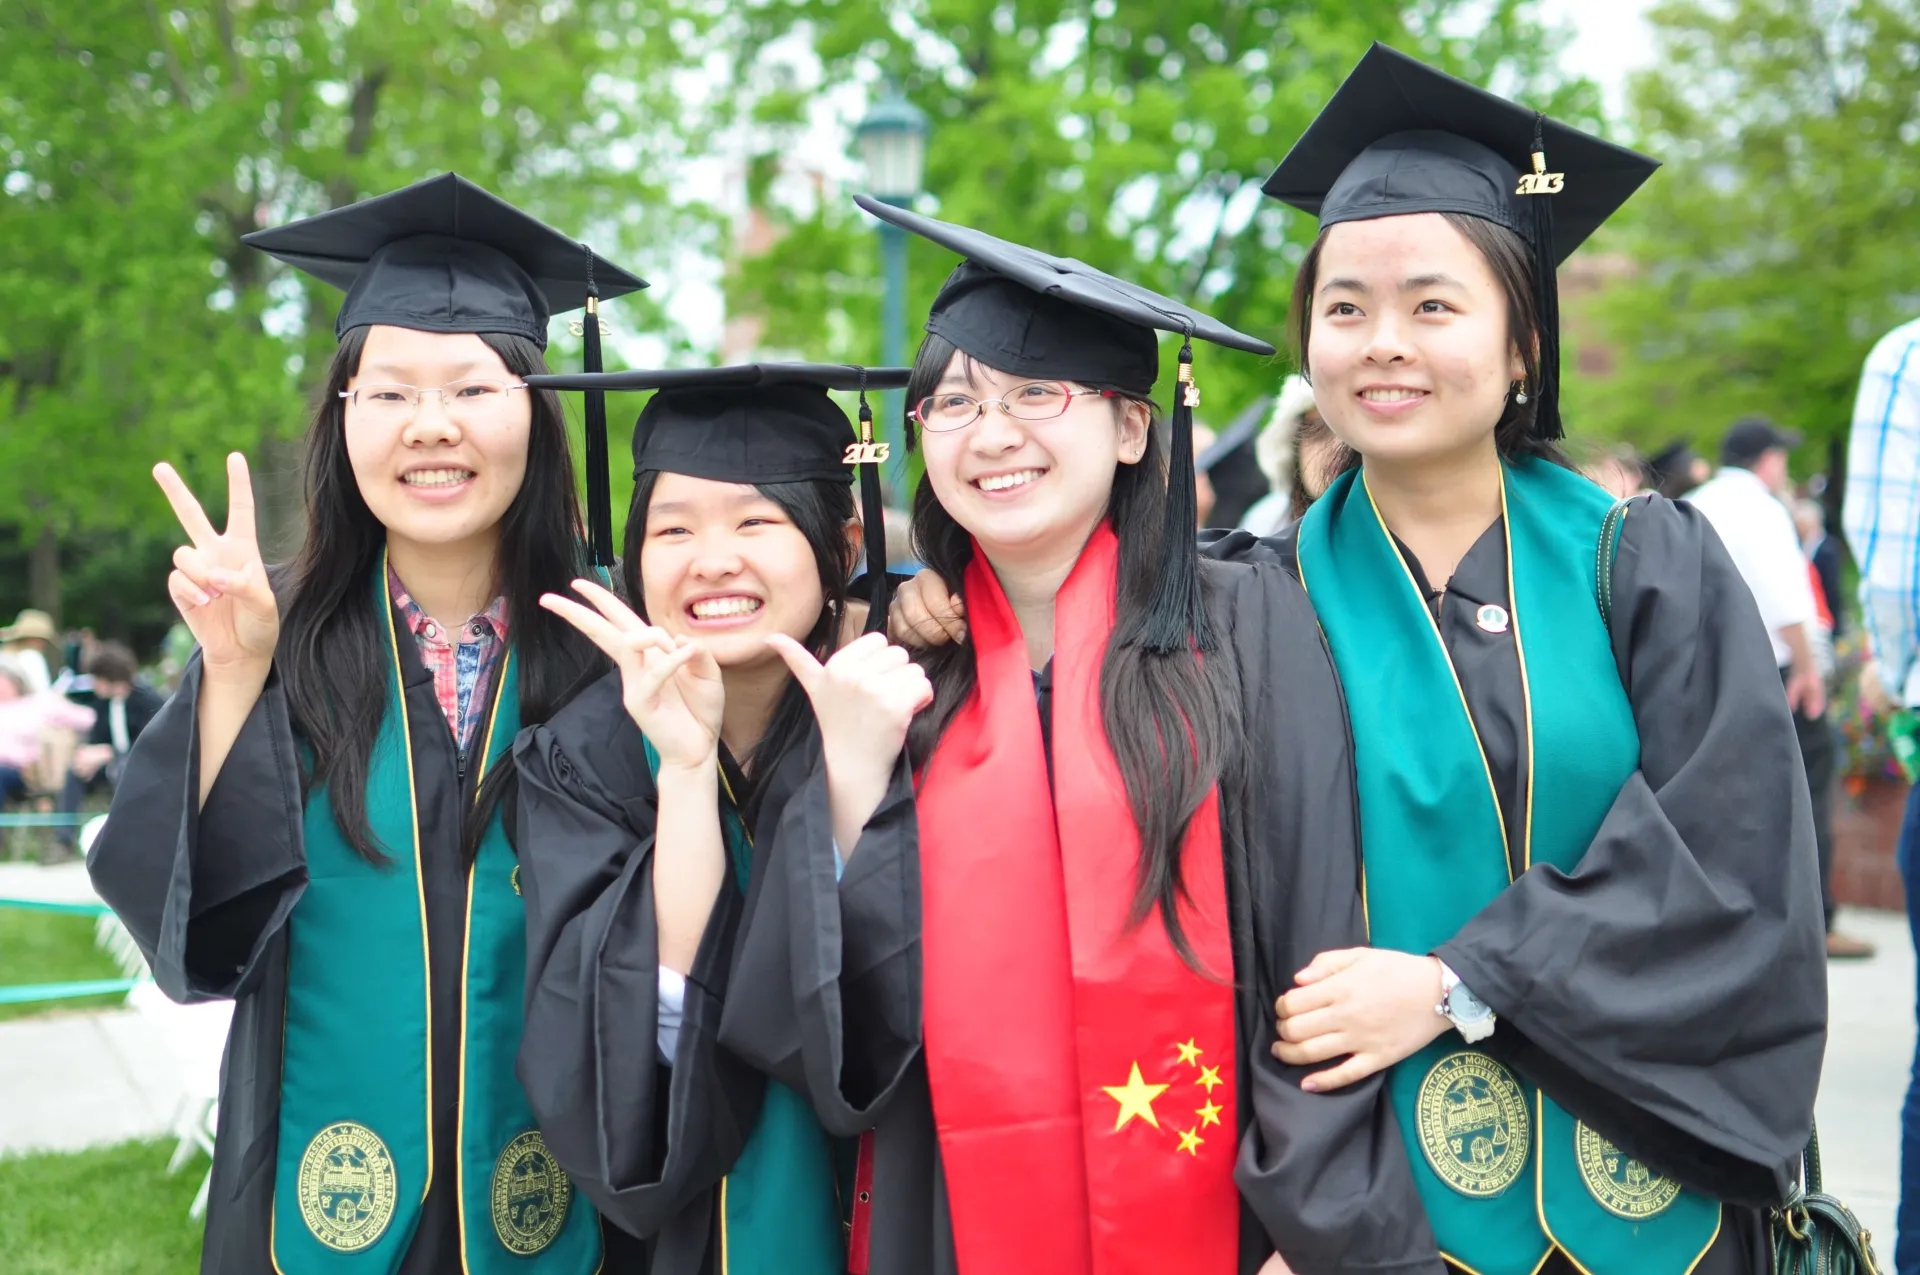
International Student Services
UVM is home to international students from more than 60 countries. We support this community through immigration processing, programming, and general advising.
Welcome: International Student Services iStart: UVM's system for requesting immigration documents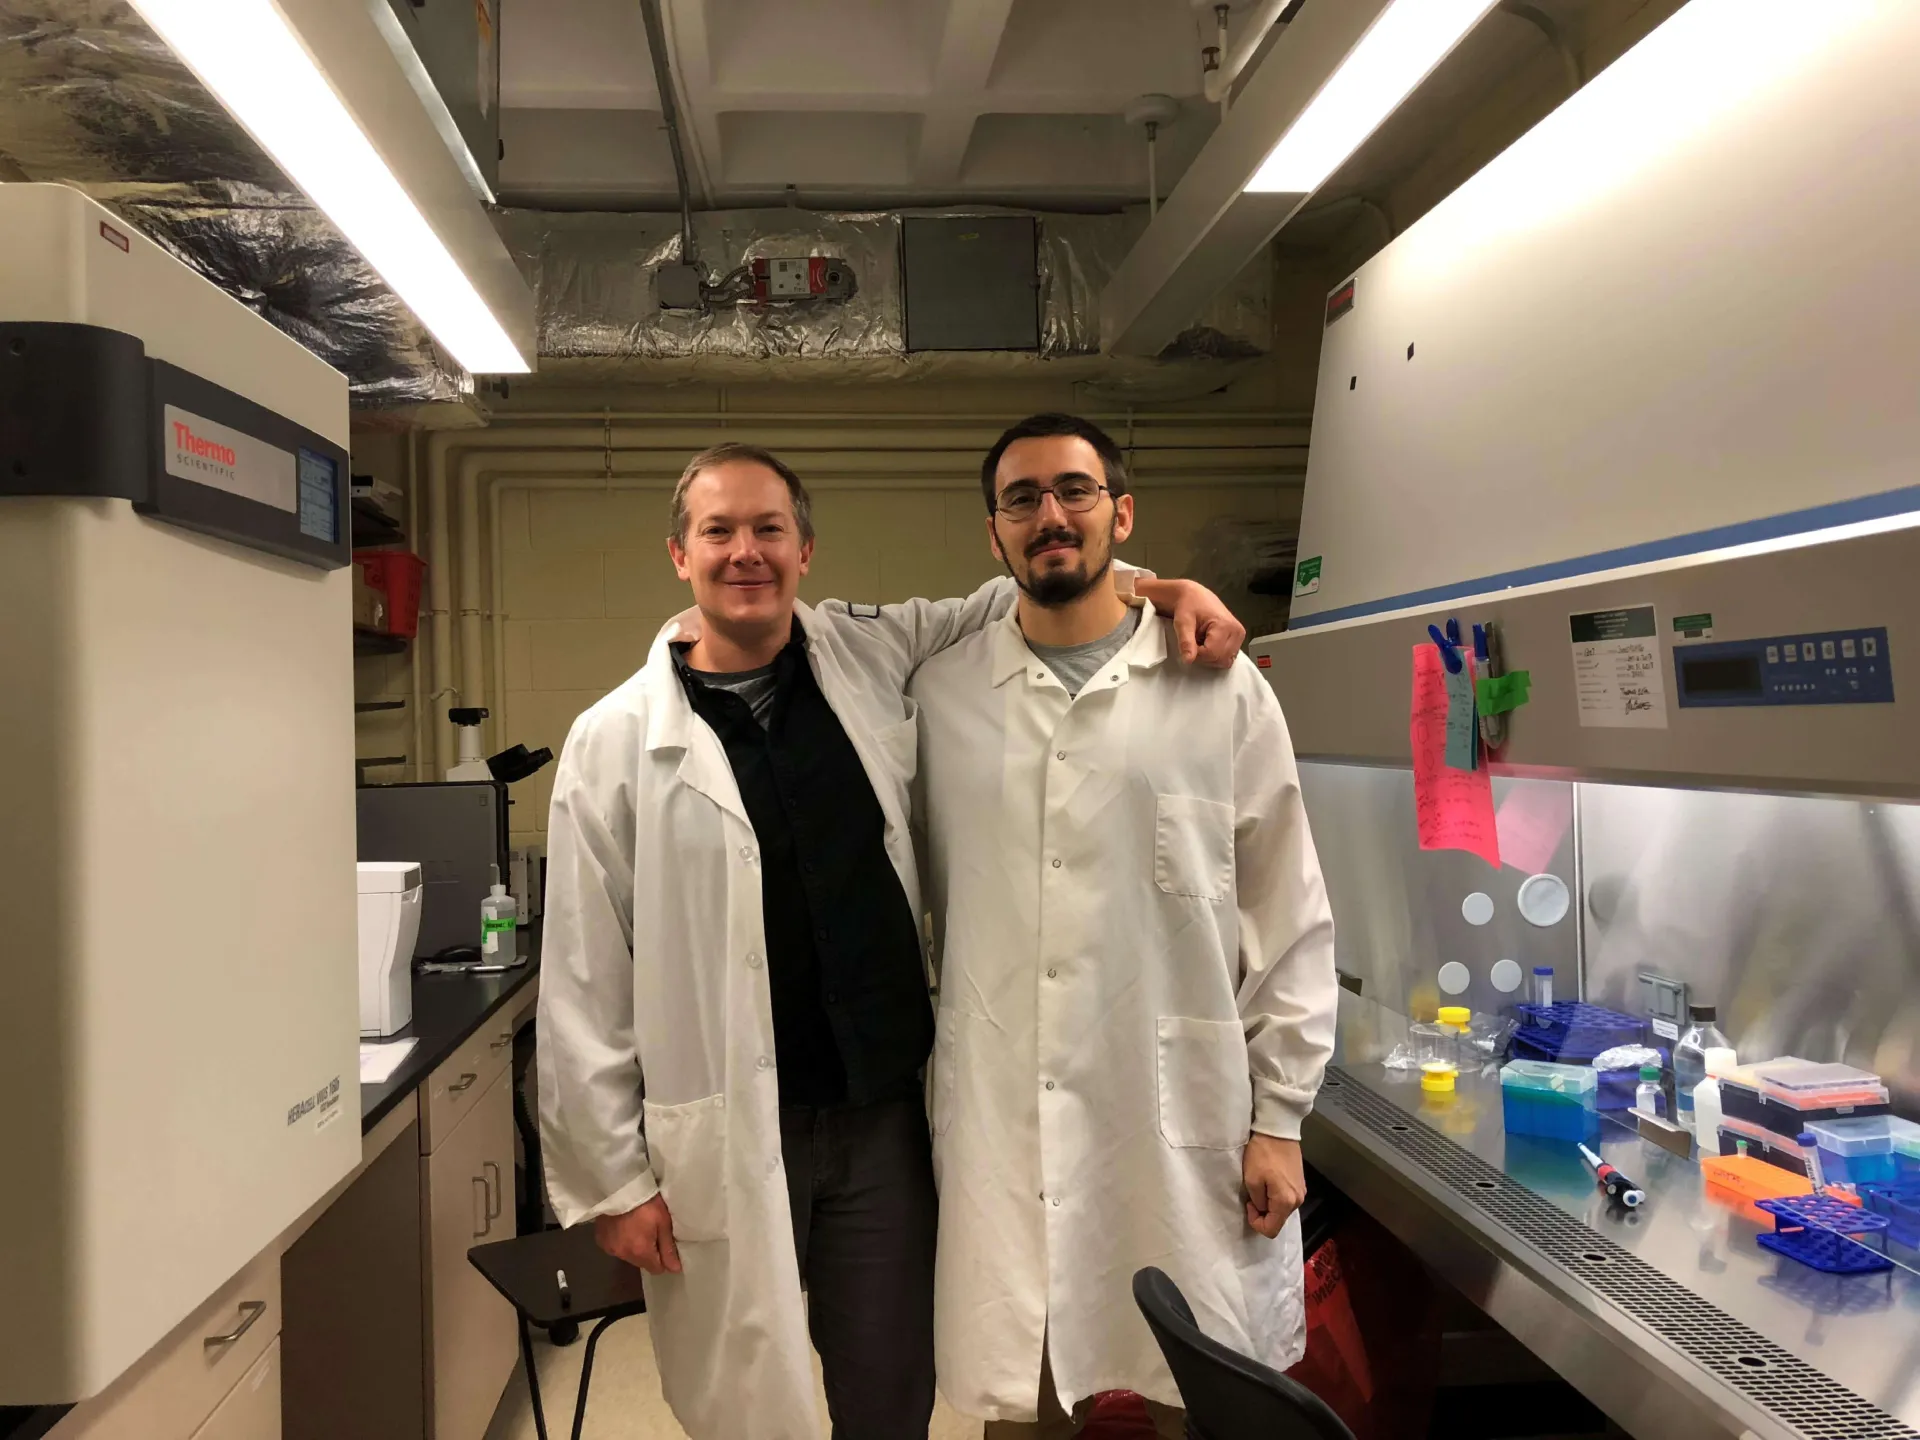
International Scholar and Employee Services
UVM employs or hosts several hundred foreign nationals. We support hosting departments and the international faculty, staff and scholars as they prepare to come to UVM and during their time here.
Welcome: International Scholar and Employee Services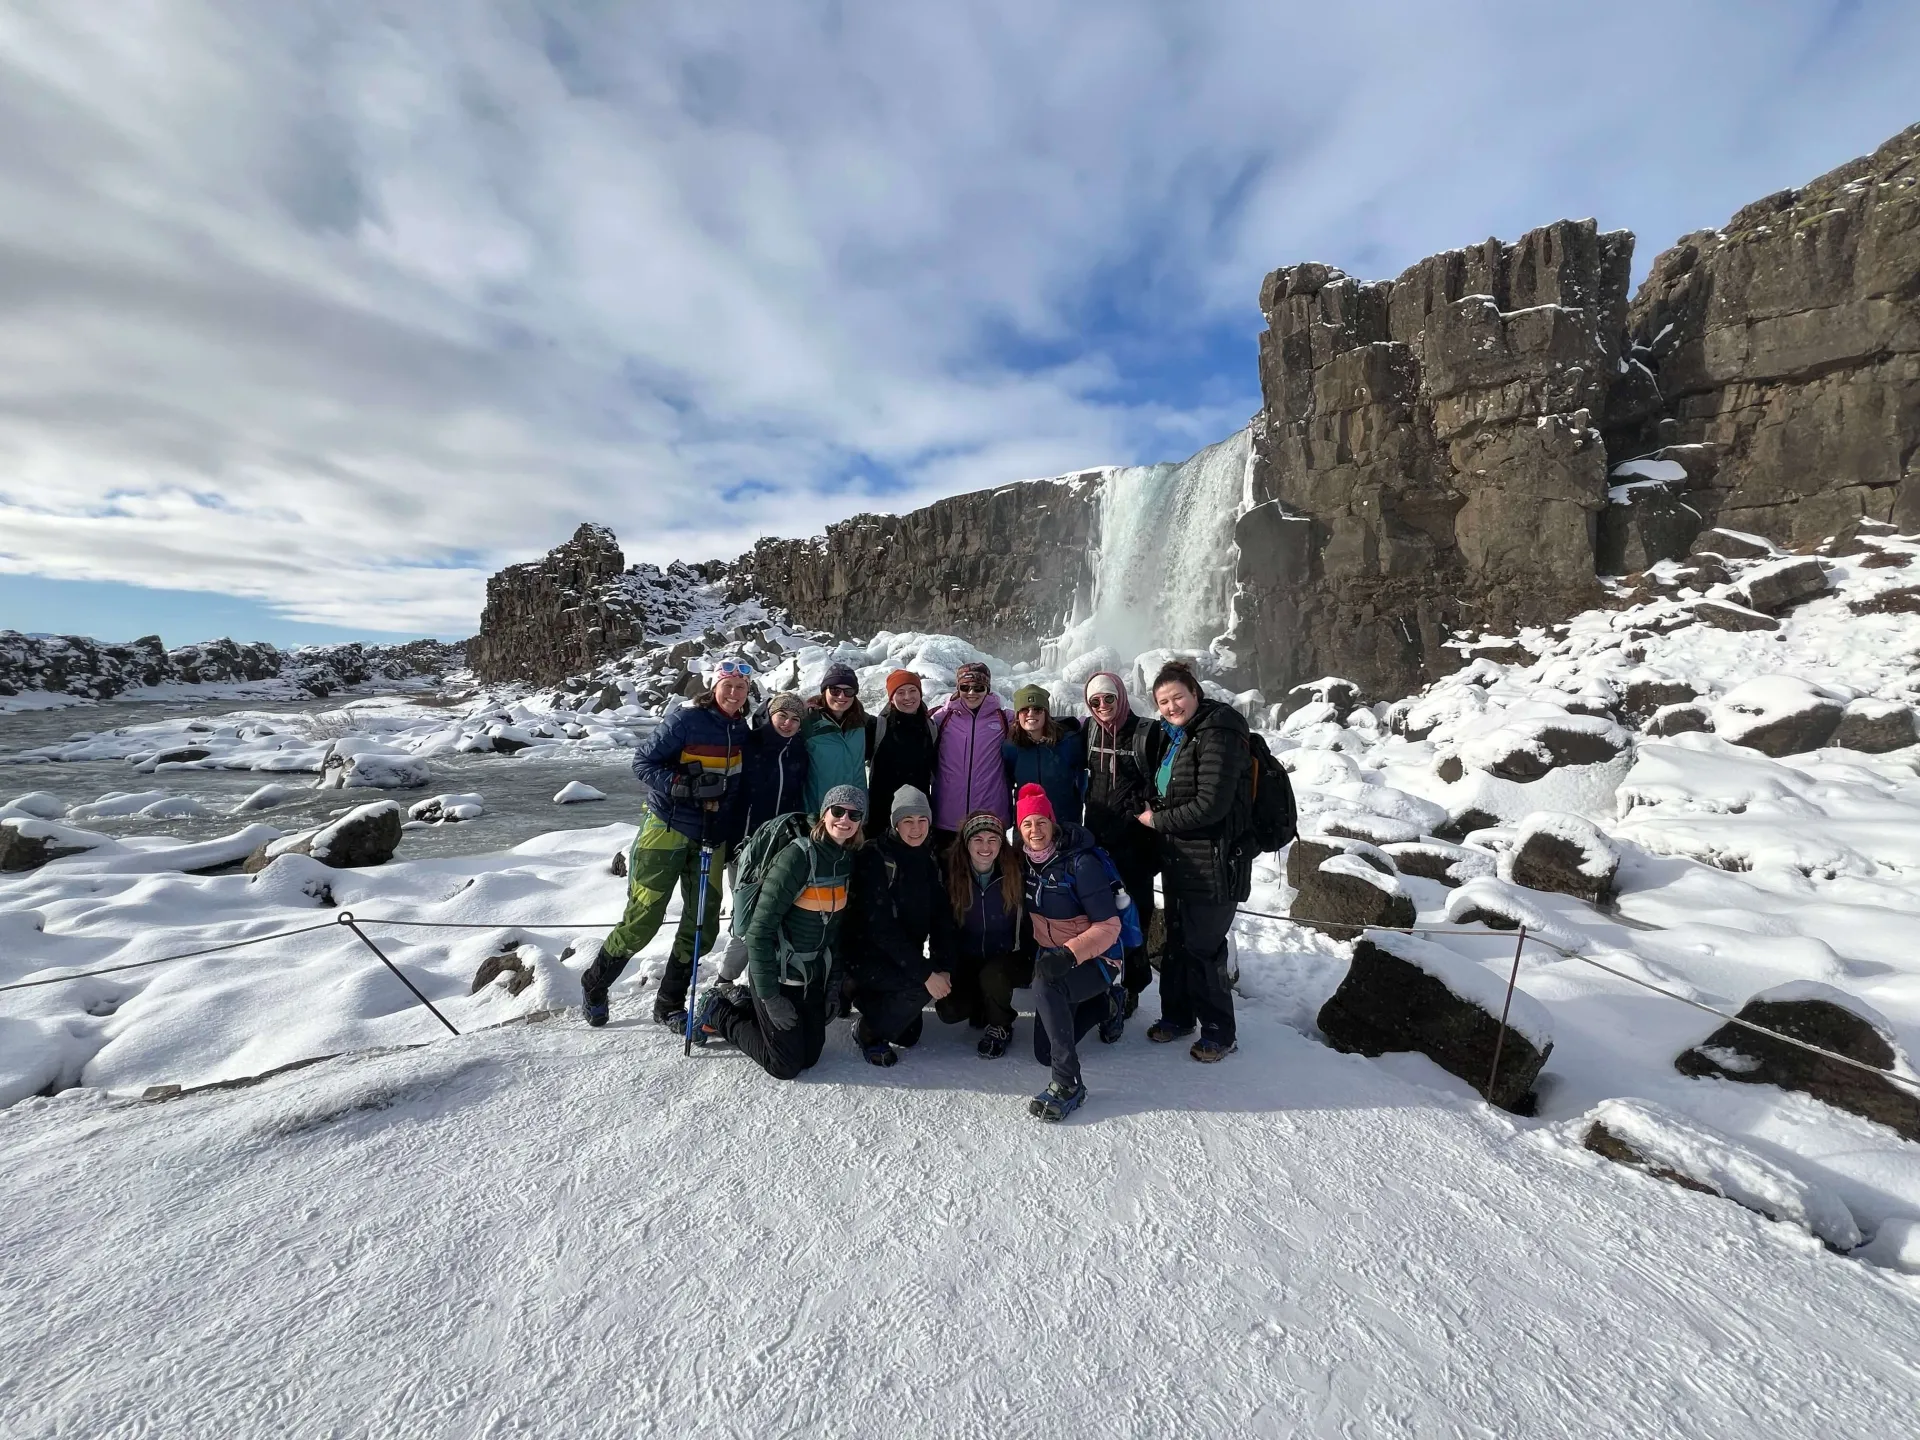
Travel Study (UVM Faculty-led Programs)
Travel Study programs are UVM credit-bearing academic courses led by UVM faculty for undergraduate and graduate students. These programs are developed in partnership with the Office of International Education and we execute between 15-25 Travel Study programs per academic year.
Welcome: Travel Study (UVM Faculty-led Programs)